How to Update Xhorse Condor XC-Mini Built-in power supply
Matched product:
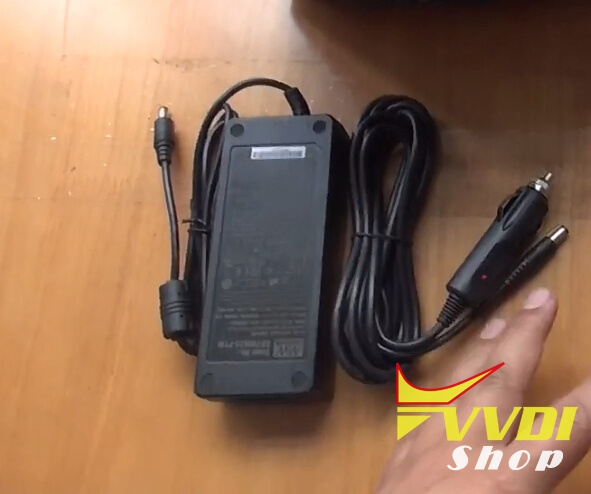
Power Supply Adapter with Battery for Xhorse Condor XC-Mini (Cut about 40 Keys per Charge)
- Item No. XCMN04EN
- Out Of Stock
Xhorse released new power supply adapter with battery for Condor XC-Mini key cutting machine with which you can cut 40 keys per charge.
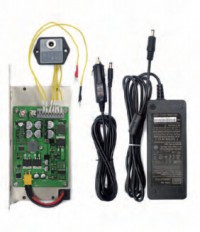
List of rechargeable battery of Condor XC-Mini:
① Mainboard
② Cable of 6 & 7
③ Battery charger & display module
④ Vehicle charging line
⑤ Adaptor 220V
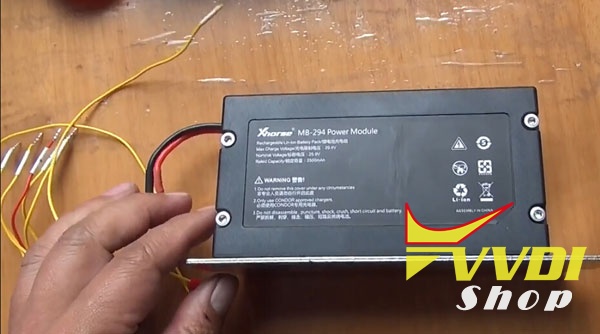
Specification of rechargeable battery of XC-Mini:
Standard voltage: 25.9V
Limited charge voltage: 29.4V
Rated Capacity: 2500mAh
Power Ra: 73.5Wh
How to change/update Condor XC-Mini built-in power supply?
Remark: please follow the procedure to operation in case of damage the Mainboard ,do not connect the power during operation.
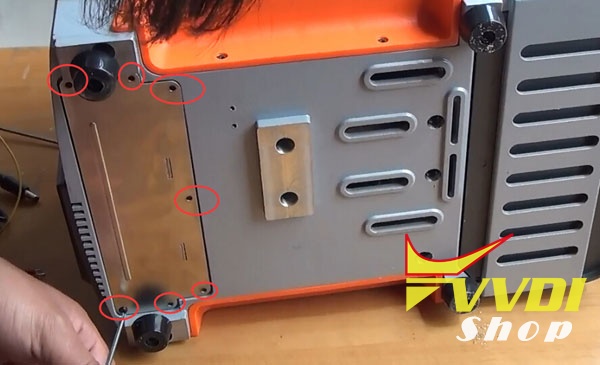
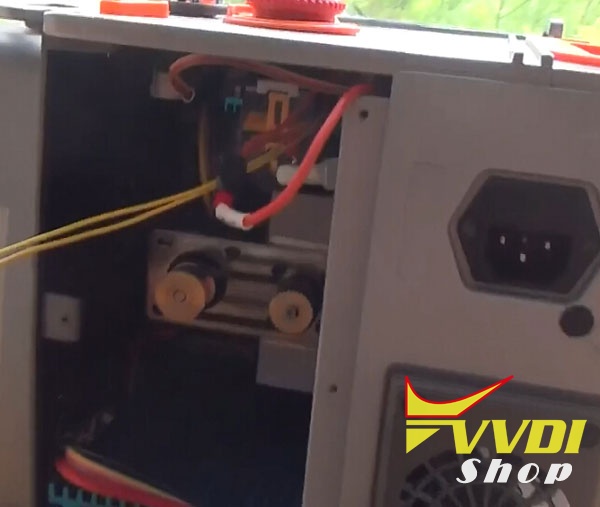
1.Remove the screws.
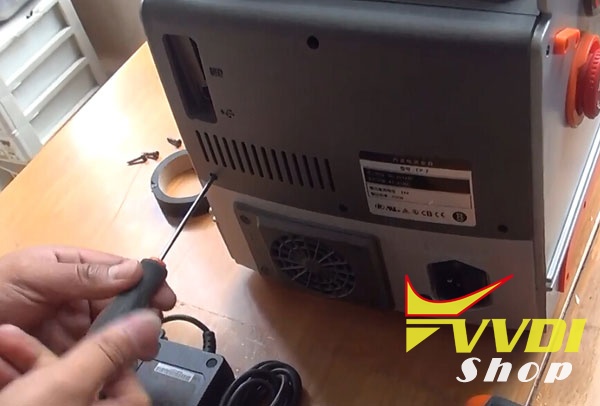
2.Remove the shell.
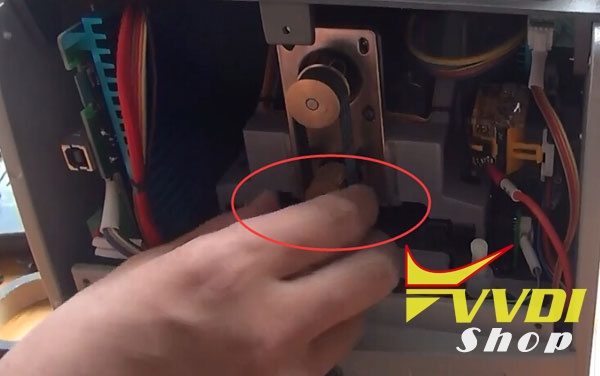
3.Rotate the little round screw to the innermost.
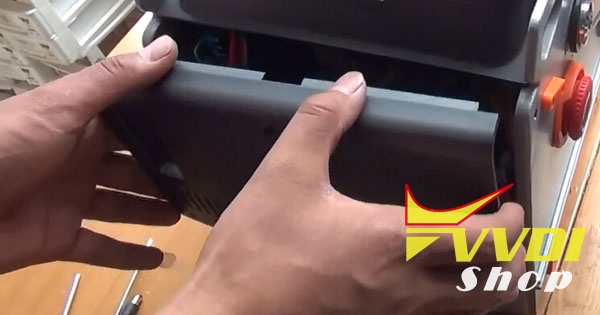
4.Then we need to remove the clip.Pull it out.
5.Rotate the screws on both sides,remove out the clip.
6.Use insulating tape to connect two cables together.
7.Lay down condor mini machine.Remove the screws.
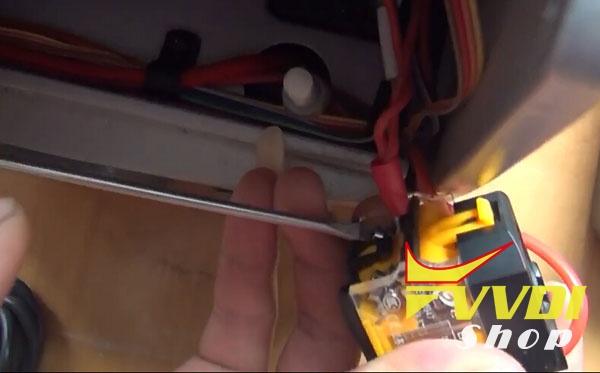
8.Take out the board.Unplug the clip.
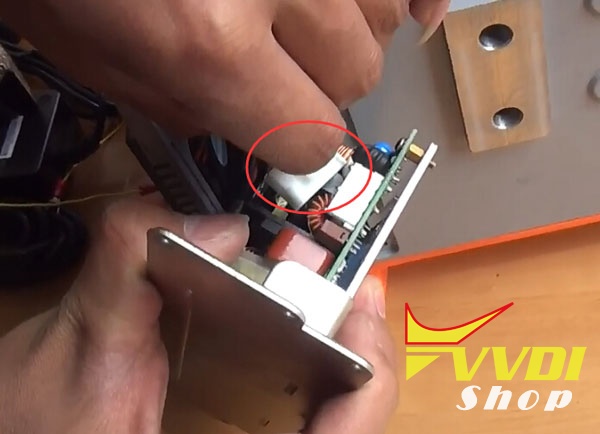
Rotate two screws to remove the cables from the PCB.

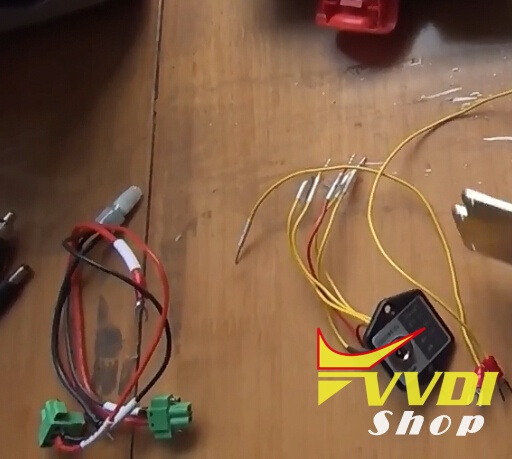
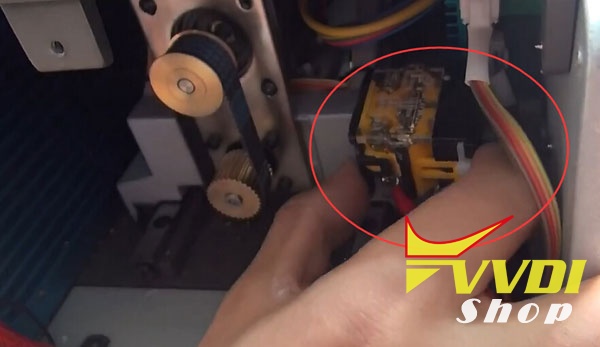
9.Here two separate yellow color cable,number 7 and 6.
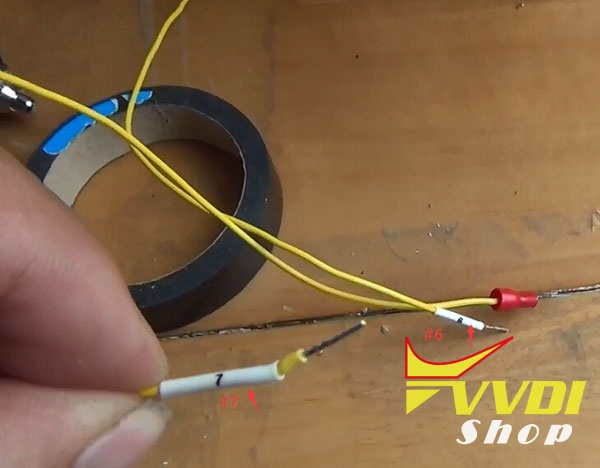
10.Number 6 cable is connected to 12 on clip.
Cable 7 connects with 11. Lock the screws.
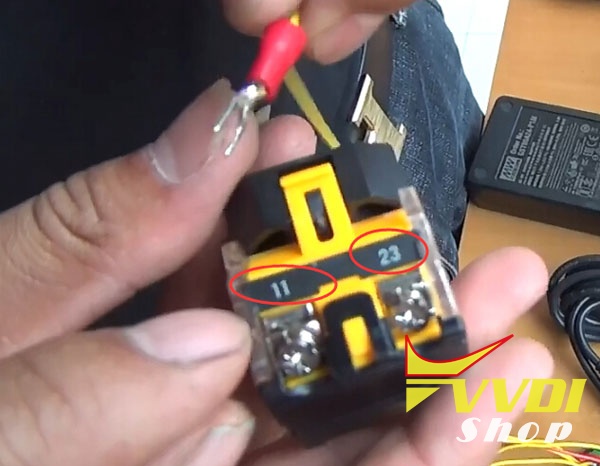
11.Put back clip to original place.
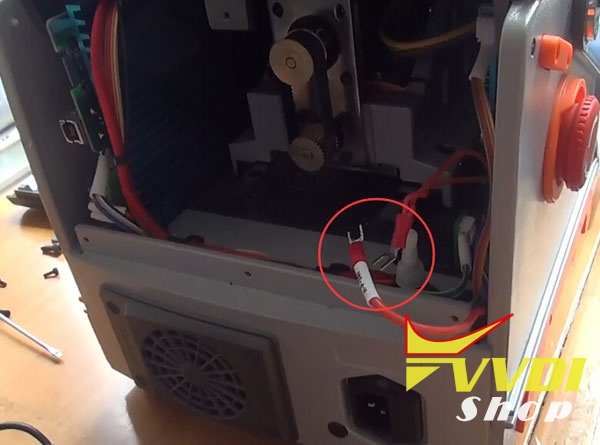
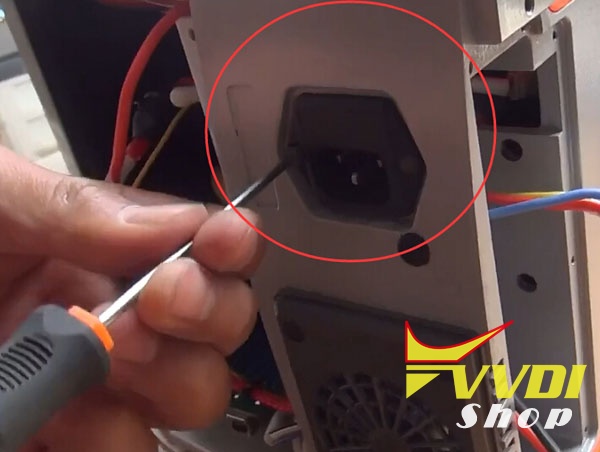
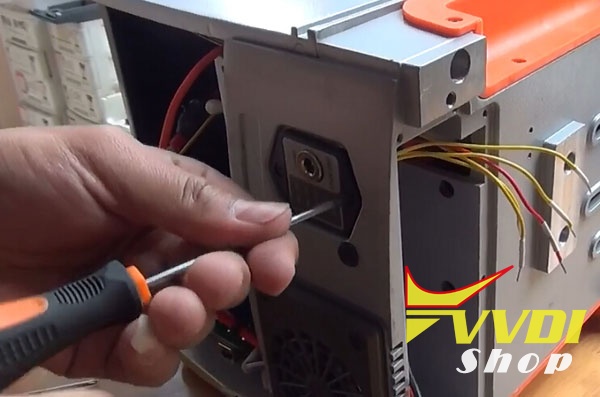
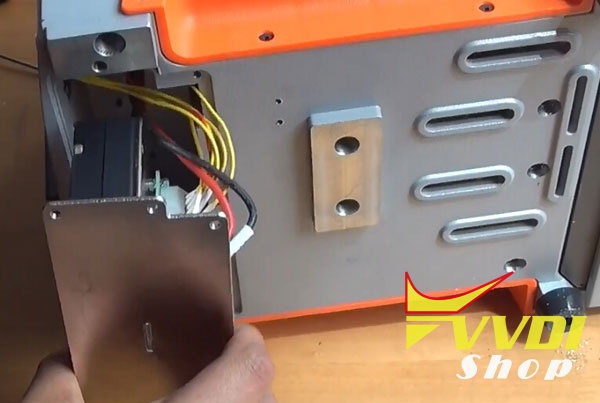
12.Next step: remove the power adapter on Condor MINI
13.Put the new power adapter.You can find new power adapter in Power Supply Adapter with Battery Kit.
Put back screws and lock it.
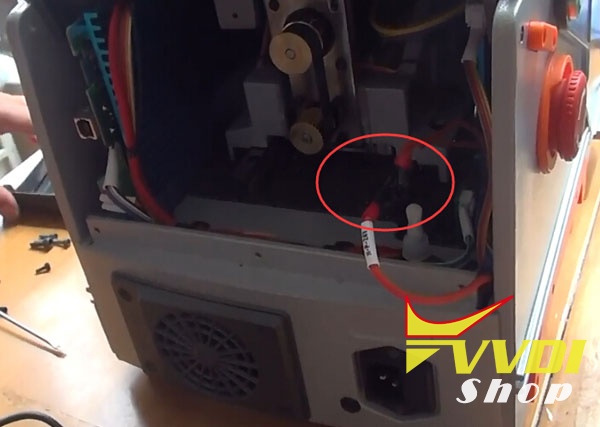
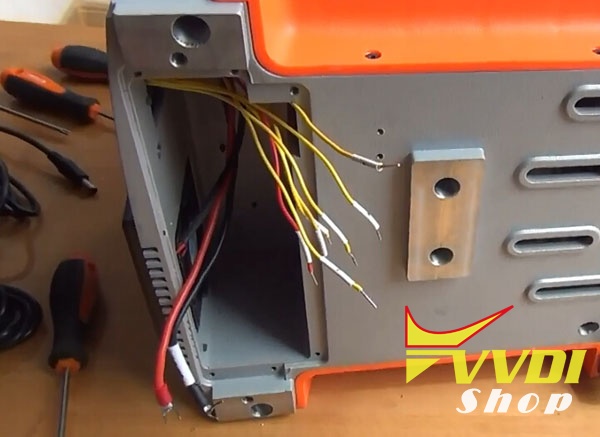
14.Put two yellow cables together with new power adapter cables under the clip through the hole.
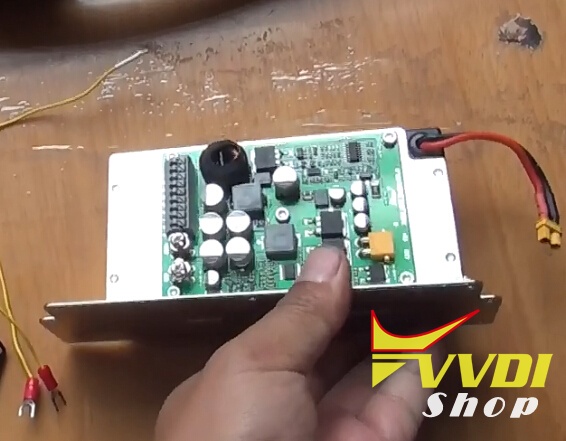
15.Connect Power Adapter battery PCB.
It lists out number from 1 to 9,and 24V.
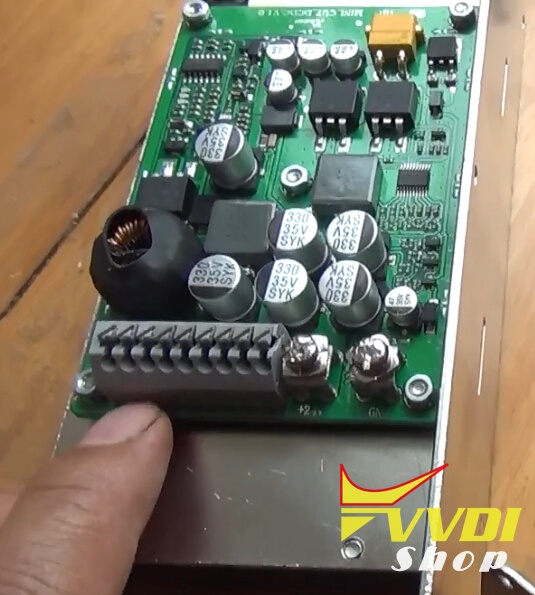
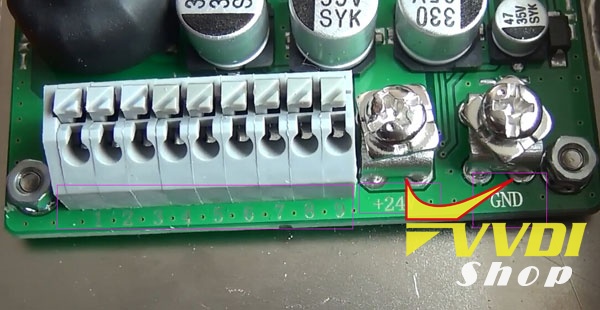
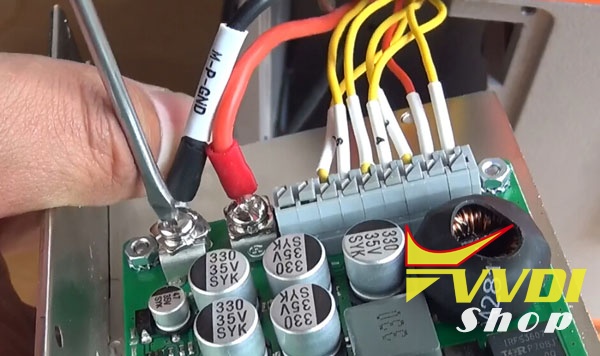
16.Connect cables to the numbers, VCC and GND. Please note the numbers must be matched.
Connect cables,as well as VCC and GND.
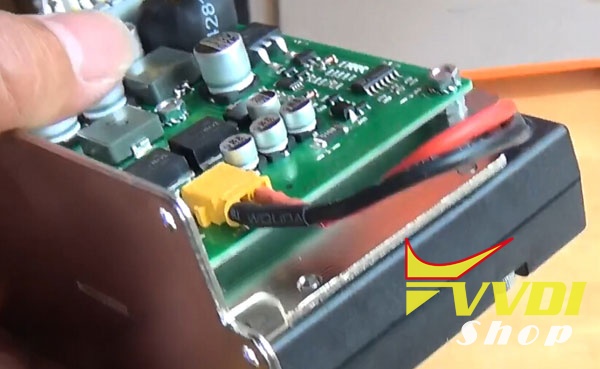
17.Put back PCB to condor mini.And two shells,lock the screws.
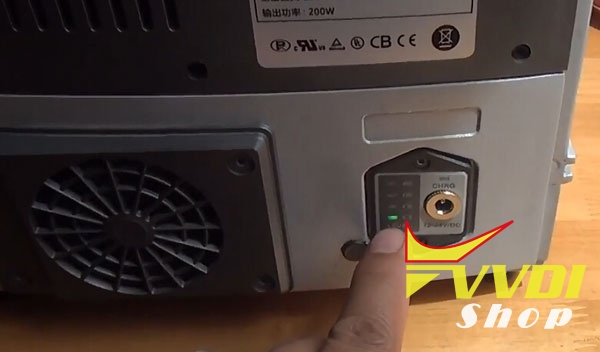
18.Now,we power on to start for test.It shows charge capacity.
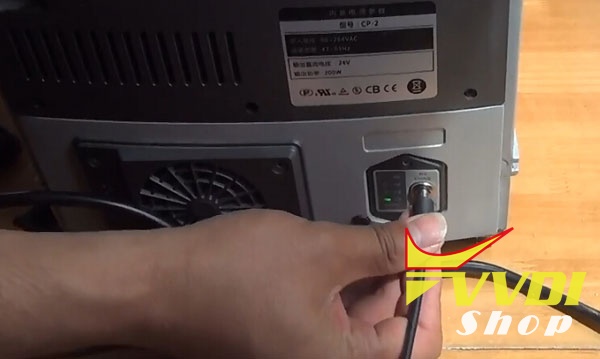
19.Use old charge cable with new charge adapter,connect with power supply,it can charge power.
We can also use Car cigarette lighter cable to charge.
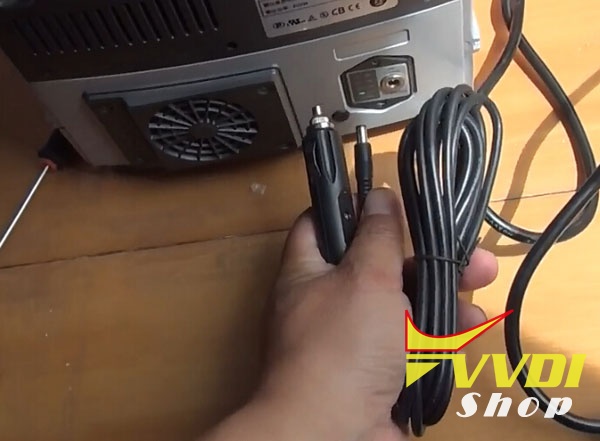
20.Upgrade to the built-in power supply successfully.